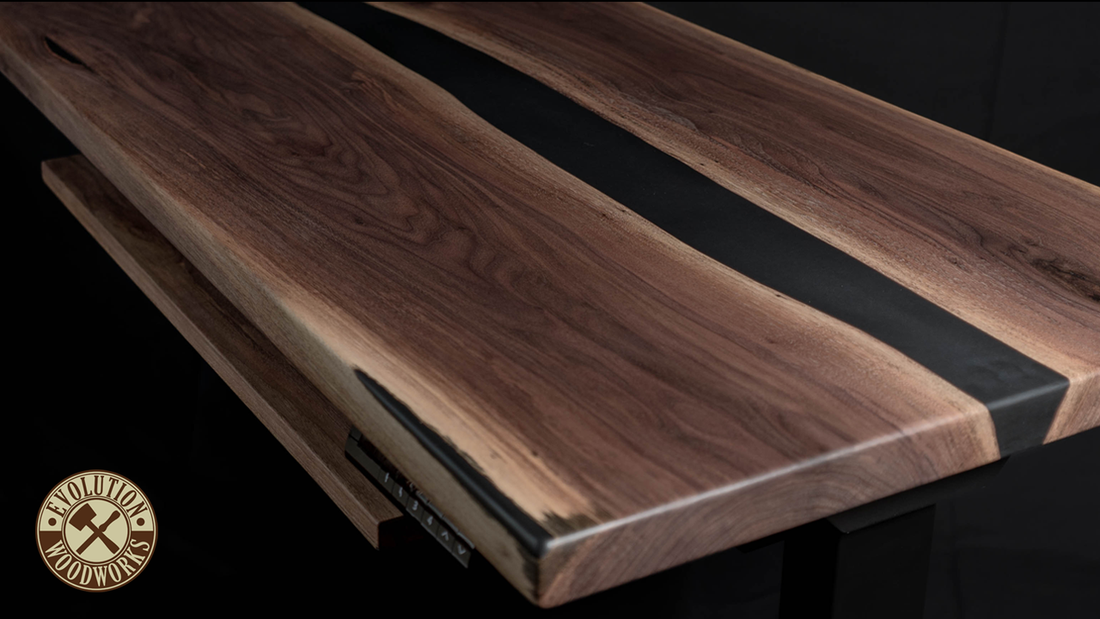
Building A Walnut River Table Standing Desk
Share
This build started as a 3" thick slab of black walnut that I've had drying on the shelf for a couple of years. I pulled it down, cut it to size, flattened it and straightened one edge leaving the other as a live edge to form the river in the middle of the top.
After letting it sit in the mold for 3 weeks to be sure the epoxy was fully cured I flattened it, sanded it and added a hard wax oil finish to give some protection without taking away the soft feel of the bare wood.
Finally I added a height adjustable steel base and a matching keyboard tray from another part of the same tree.
It's been in use here in the office for a while now and even though I've made it a point to keep it less cluttered than my previous desk, it's beauty is still just as distracting and I find myself just staring at the details when I should be working.
If you'd like to see the full build video you can check it out below. And if you like to see more about my design/build process as well as the the behind-the-scenes work that goes into to making the furniture and the video content, I've just launched a Patreon where I'll be sharing more of that process.
